Red Library Offices is the sixth mission in SWAT 4 and the ninth mission in SWAT: Elite Force. The SWAT team is tasked with rescuing all hostages inside an office building after many gunmen took refuge there in the aftermath of a botched bank robbery.
Mission Briefing[]
Just after 1400 this afternoon, multiple gunmen stormed the offices at the Wainwright Mill Center building. They shot their way through several of the businesses, until getting pinned down by patrol in one of the offices.
This started with an attempted bank robbery at the Community Savings and Loan. However, the suspects tripped the alarms early in their attempt, alerting both the bank's security and local police. Instead of attempting to flee, they seem to have tried to continue to break into the bank, but were foiled by the vault security.
When confronted by security, the suspects shot two of them, and then fled. After a brief vehicle pursuit with patrol officers, the gunmen crashed into the offices at Wainwright Mill Center and took refuge in the Red Library office. Patrol pulled back and established a perimeter.
Red Library is a software company, specializing in data storage. Its employees often work on Saturdays, and so we suspect that that was the first unlocked office the gunmen found. Unfortunately, that also means the office was occupied when they went in.
Negotiators have been talking with them since about 1530. Overall estimation is that while these guys are heavily armed, they don't really know what they are doing. So far, the suspects have demanded an escape route and five million dollars, in exchange for their ''multiple prisoners''. Negotiators have managed to get four hostages freed, in exchange for two gas masks and two armored vests. The freed hostages can't give us an accurate count of employees, since no one knows how many employees were working today. The recent spate of gunfire means it's time to go in and rescue the rest of the hostages.
Timeline[]
- 14:02: Gunmen sighted - Gunmen enter building.
- 14:24: SWAT Arrives - SWAT Arrives. Containment perimeter and high ground established.
- 14:30: CNT contacts suspects - CNT makes first contact with suspects; no names given, no progress made.
- 14:34: First demand issued - Demand for 5 million dollars and a helicopter made; deadline of 15:00.
- 14:45: Hostages exchanged - As a concession two hostages are exchanged for bulletproof vests.
- 15:03: Deadline passes - CNT convinces suspects that the first demand was unreasonable. New demand for armored vehicle. New deadline set at 18:00.
- 16:22: Hostages exchanged - In an effort to buy more time, CNT agrees to trade gas masks for the release of more hostages. Suspects showing signs of fatigue and are becoming agitated.
- 18:03: Shots fired - Suspect threatened hostage while on phone with CNT. Civilian injuries are expected. Phone went dead, gunfire continued. Decision made to go tactical.
- 18:05: Entry begun - Due to ongoing fire tactical entry begun.
Entries and Snipers[]
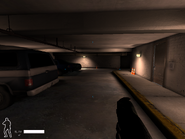
The office building offers two entry points, one on the front entrance at ground floor on side 1, while another at the underground parking garage at the corner of side 1 and side 4.
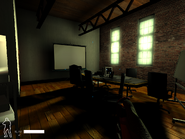
There are two snipers on this operation. Sierra 1 is covering a break room on the top floor at the corner of side 2 and side 3, while Sierra 2 is covering the meeting room on the top floor at side 4.
Map Layout[]
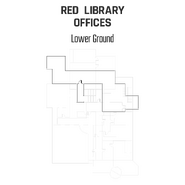
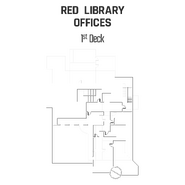
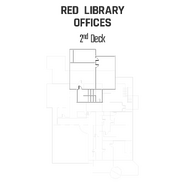
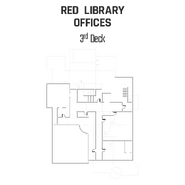
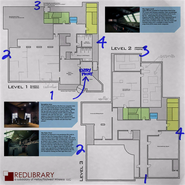
The intel on this mission is pretty accurate with regards to the ground and the top floor layouts, while information on the server room floor and the underground parking garage are completely missing.
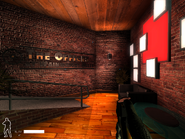
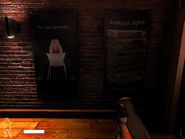
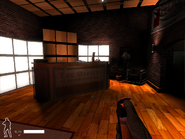
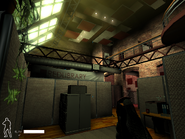
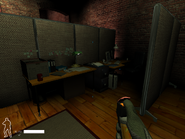
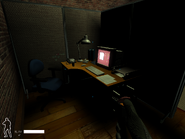
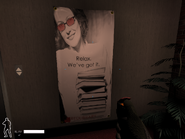
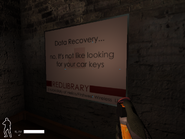
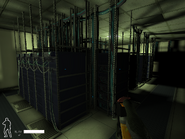
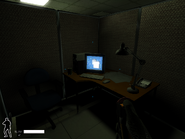
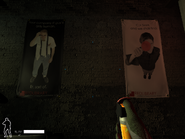
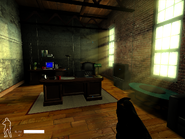
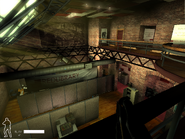
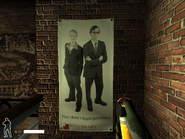
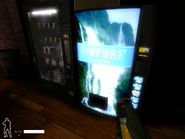
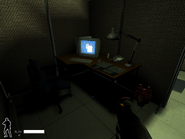
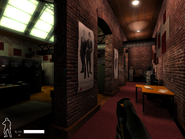
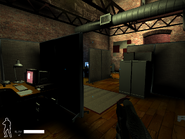
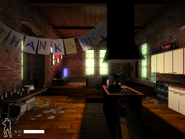
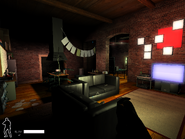
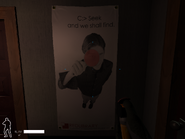
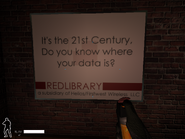
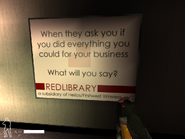
"Red Library INC" is a three story office building plus basement level. It is also part of Wainwright Mills offices. The ground floor consist of the reception area with the main entrance to the building located on side 1, a spacious office area filled with various items related to the office such as computers, printers and fillng cabinets and most of workplaces for employees are separated by cubicles. There is also a hallway that leads to two staircases, one on side 3 and another on side 4 that connects with the rest of the floors, an elevator and restrooms. The second floor has three rooms seperated by glass walls while containing the servers and their repair stations. At the repair stations are additional desks divided by cubicles, and the second floor is accessible only by the staircase located on side 3 from first floor. The top floor contains several rooms such as the meeting room, the president's office on side 1 and the break room on side 2. The break room is connected with the kitchen that is equipped with kitchen appliances and vending machines so the employees could prepare meals as well as watch TV during their breaks. It is also worth mentioning that a balcony on the top floor overlooks the entire cubicle area on the ground floor plus the door way to the reception area. The basement level contains a car park that is only accessible by the one staircase that also connects the server rooms with the ground floor. Finally, the walls of the building are covered with posters and advertisements related to data storage or data security.
Tactical Approach[]
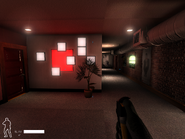
Suspects on this map are a motley collections of criminals with varying levels of capability - some of them are heavily armed with assault rifles while wearing body armors, while the rest are armed with shotguns and pistols without any forms of protection. As the briefing suggests, a small number of them are also wearing gas masks. A versatile load out, such as a mixed grenade load containing both flashbang and CS gas, plus a high caliber weapon with FMJ ammo is recommended here.
Due to most of the ground floor is exposed to the balcony on the top floor, it is not advised to enter through the front door. The best sequence to clear this map is to clear the garage first, then the stairways, then the top floor, and finally the first floor. While clearing the building, the player should remember to use door wedges to keep suspects from reentering the cleared areas. The server rooms can be cleared at anytime as long as the suspects from the other parts of the building are contained.
The suspects can see and shoot through the glass walls and windows on the server room floor, so be ready to trade fire with the suspects the moment the team enters from the stair way and into the server room floor. Also the server racks will divide the rooms into a sea of maze, so watch out for suspects hiding in dead ends and corners when clearing the rooms.
Changes in Elite Force[]
- Incapacitated civilians can bleed out and become DOA if not reported in time, which results in forfeiting the "All civilians unharmed" score bonus.
- The suspects now start to carry machine pistols, including the MP5KA4 Machine Pistol introduced in SWAT: Elite Force. Desert Eagle is also added to the suspect's equipment pools.
- The civilians' morale have been increased across the board, with Warren Rooney being particularly stubborn when encountering officers.
- This mission unlocks the Colt Accurized Rifle and the Heavy Kevlar Armor.


